Pages

Showing posts with label Tim Holtz. Show all posts

Monday, October 29, 2012

Cross stitch looms

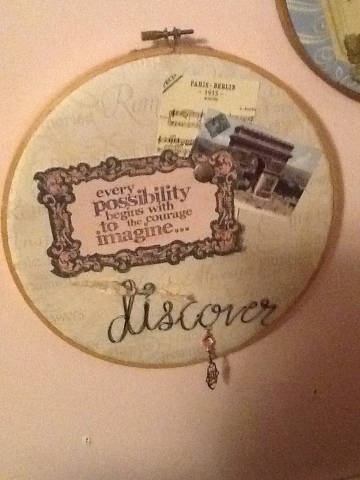
I have had this collection of cross stitch looms forever and I have wanted to do something with them. They have been hanging on the wall for at least a year just blank nothing in them. About a week ago a friend gave me a dcwv stack that inspired me to finally do something with them the colors in the stack were perfect and went well with my room, so I started cutting the designs to fit the looms and there was a sheet of tags you could cut out and use as embellishment. I decided to use my favorite Tim holtz quote stamps and stamped a different one on each tag then I started to pull this from my stash. Bits of findings and jewelry reused, some very old scrapbook embellishments I have saved for a special project. Over all them came out pretty cool. It was the perfect distraction from hurricane sandy and my head feeling like its going to explode and my runny nose that sandy has caused. Tomorrow I'm back to getting homework done. And at the moment time for sleep.
Pin It Now!

Thursday, August 9, 2012

Vintage inspired cards

Well I received pink paislee mist able papers in my warehouse box and I was excited to start using it so I pulled out my tattered angels glimmer mist out and started playing. Both cards use the same piece for mist able paper I just used different color glimmer mist. I also played with my Tim holtz rose ribbon for the first time. I used distress stain to dye the roses to match the card. I then decided it needed bling but I didn't have any bling flourishes on hand so I took out my crafters workshop templates I bought forever ago and I just traced along a flourish to get a line to follow then placed bling I had on hand along that line. I'm loving these cards and one will be on its way to a friend who could use a pick me up. I hope you enjoy.
Pin It Now!

Saturday, July 28, 2012

To done

Well I joined in on an altered post card swap. I have been pushing the Kraft post card around the craft room for awhile now I keep picking it up thinking"Where did this piece of Kraft paper come from?" or "This should be in my close to my heart scraps" then I flip it over and say "oh yea" lol. So I got a few demos done for my card group to see the new Flirty paper pack and what our new Artiste cartridge can do and needed something different to do so I decided it was as good a time as any to get my altered postcard finished. I loved the look of the kraft colored paper and didn't want to mess up the actual postcard so I took a scrap of ctmh Kraft paper and my new Tim holtz embossing tray and used his reflection stamp to emboss and stamp the Kraft paper. I then went over the embossed areas with broken china distress ink added some bright cheery rubon flowers, "wish you were here" cut from sentimentals and a heart from art Philosophy (which I stamped with Tim holtz map stamp and inked the edges with broken china), popped up a beach babe and finished.
Pin It Now!

Sunday, February 12, 2012

Cupcake cards

I know I'm a bad blogger. I'm going to do my best to post more often. I just painted my craft room and put in a new floor,but that is going to posted tomorrow. It looks great though I must say. So what kind of creating have I done. I made cupcake cards. I used the art philsophy cricut cartridge and one of the stamp sets that is sold in the package. I kept them simple I just used card stock in pink and blue, and Tim Holtz shabby chic paper pack and two stamps one says "seize the cupcake" and one says "happy cupcake day" they were fun to make.
Pin It Now!

Sunday, May 1, 2011

July's Altered Tag


So here is my altered tag for July.  It seems these come to me in clusters.  Its nothing too fancy I just inked the background with Faded Denim and Fired Brick ink.  Then Embossed Fireworks in white.  I cut my main image out on the cricut with Child's Year.  Made a Rosette out of Tim's Holtz holiday paper pack (I got for $5 at Micheal's on clearance wooooowhoooo!!) Then added some tissue tape and Distress stickles (and regular stickles) and July that I welded and cut out on the cricut (and more stickle!).  Now I just need to sit down and duplicate June and July's tags for myself and I will have them done then on to August and September.
Pin It Now!

Monday, April 18, 2011

I made some cards and Birthday art from my friends


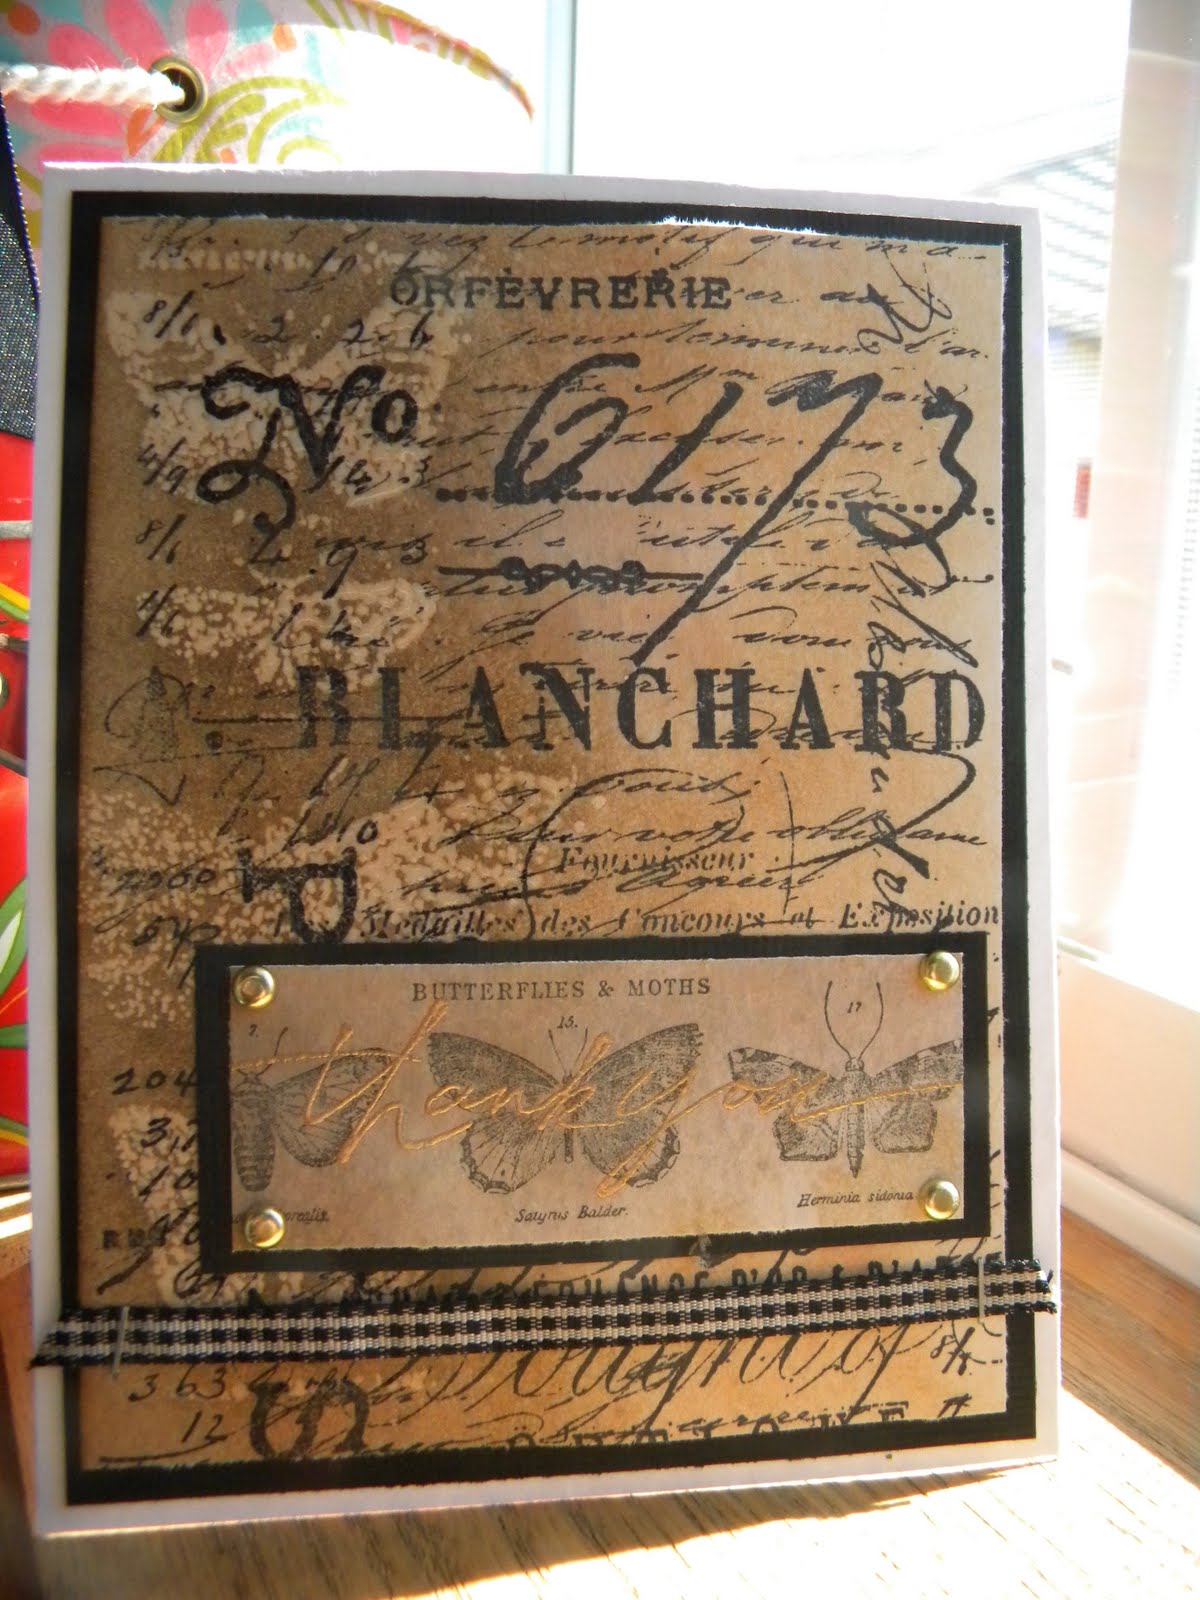
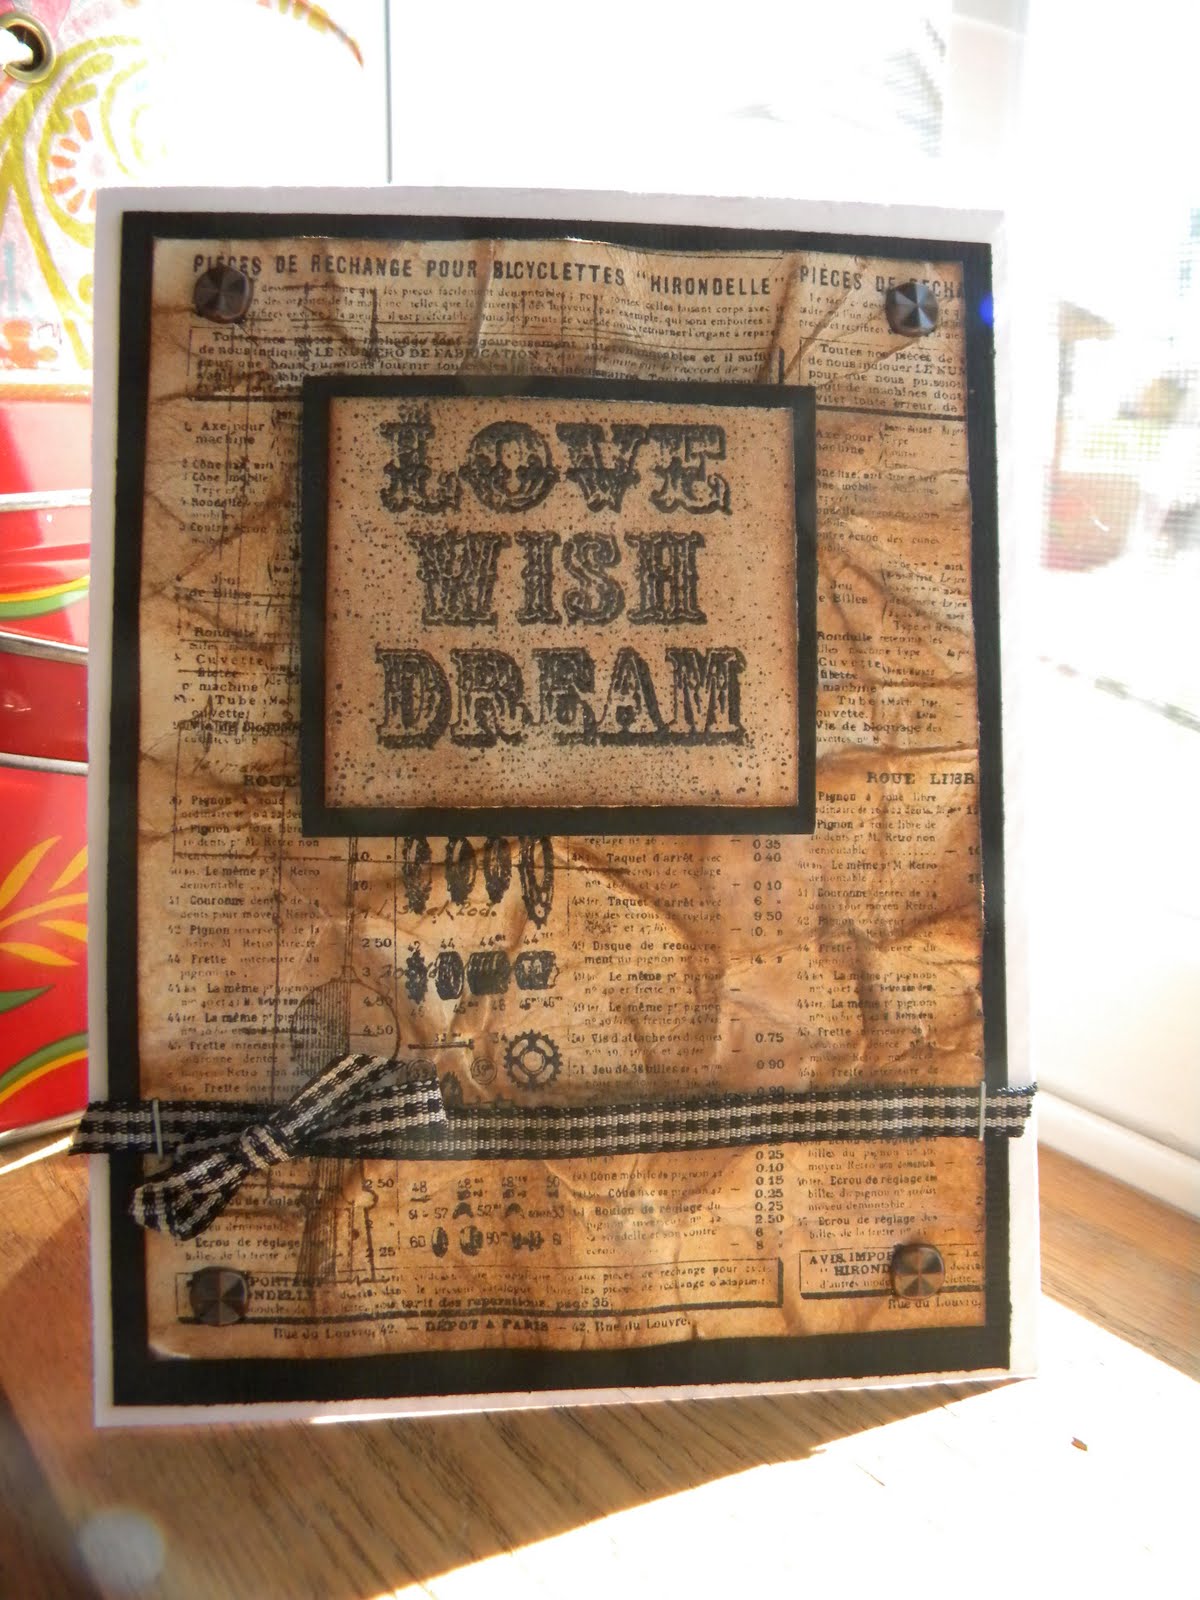
Over the last couple of days I have taken sometime out to do a little creating.  I made some cards using my new Tim Holtz Stamps, distress ink, some white and black cardstock, ribbon and brads.  They came out pretty cool in my opinion.  The other thing I wanted to share is the birthday art on display from all my friends in my art group.  I received some beautiful art as I do every year!  I have it hanging as you can see in my art room on a "clothes line"   
Pin It Now!

Monday, March 21, 2011

How to create: My Easter Altered Tags

This is a step by step, or as close I can do to how I made my April Altered tags.  I did this one 3 times till I liked the final product.  I took two tags and put them through my cuttle bug in an embossing envelope.  I went with the Script because it was the most fitting to the theme of Easter.  Then I took my distress ink in Wild Honey and Scattered Straw and inked them using my blending tool.   

Next I took out my Close to my Heart egg stamp set (this was a stamp of the month last year I believe)


I pick a few eggs out that I liked and stamp them with Versa mark ink on white cardstock. 

 Took my chalks and a make up sponge and picked a few pastel colors.
 Then chalked them so they looked like the ones below.
Below are all the eggs finished
 I then cut them in strips cause I find them easier to cut with my little scissors that way. 
 Then Carefully cut around the images and then up them aside. (Boy do I wish I had a video camera with the stand so I can do videos instead of all this)
 Next I dug through the scrap bins and found two brown scraps of different tones and cut them into strips with my paper cutter.  I then did I simple basket weave that was wide enough for my tag and I eyeballed the height. 
 Every Easter basket needs grass right.  So I went the scrap bin again and found two scraps of green in different tones and cut them with my scissors into very thin strips. 
 To give mine the "grass" feel I balled them up in my hands. Creating this: 
 Next up I flipped my baskets over and added adhesive in a strip on top of the basket 

 I added the grass and then added more adhesive to glue them down.  Then I layered my eggs on the tag itself about were I want them so they would poke out over the grass and basket. Followed by gluing my basket in place on top of them. Then I did all the trimming around the edges that needed to be done.  After all that I cut two strips of white cardstock and stamped Happy Easter then scored and folded them, cut "v"s on either side to create the banner look.  After I glued them on I decided they looked blah so I added some purple Stickles around the edges.  I think the came out pretty cut. 
Pin It Now!

Friday, January 14, 2011

March fairy tags


These tags didn't come as easily as my first two months.  But after a lot walking away and hard work I think they came out pretty cute.  I didn't go crazy with them just applied some ink with the blending to the tag and some other papers before diecuting them.  Paper pieced a rainbow, cut the little fairies out from a image sheet, colored their wings a different color that worked a little better with the tags as a whole with Smooch and embossed some shamrocks in white embossing powder.  
Pin It Now!